I am so excited to be doing this post tonight! In collaboration with Handy Hippo, the online craft store, this is my first step by step card tutorial!
The idea is, i make a card taking photos at different points and this will give you inspiration and help should you need it!
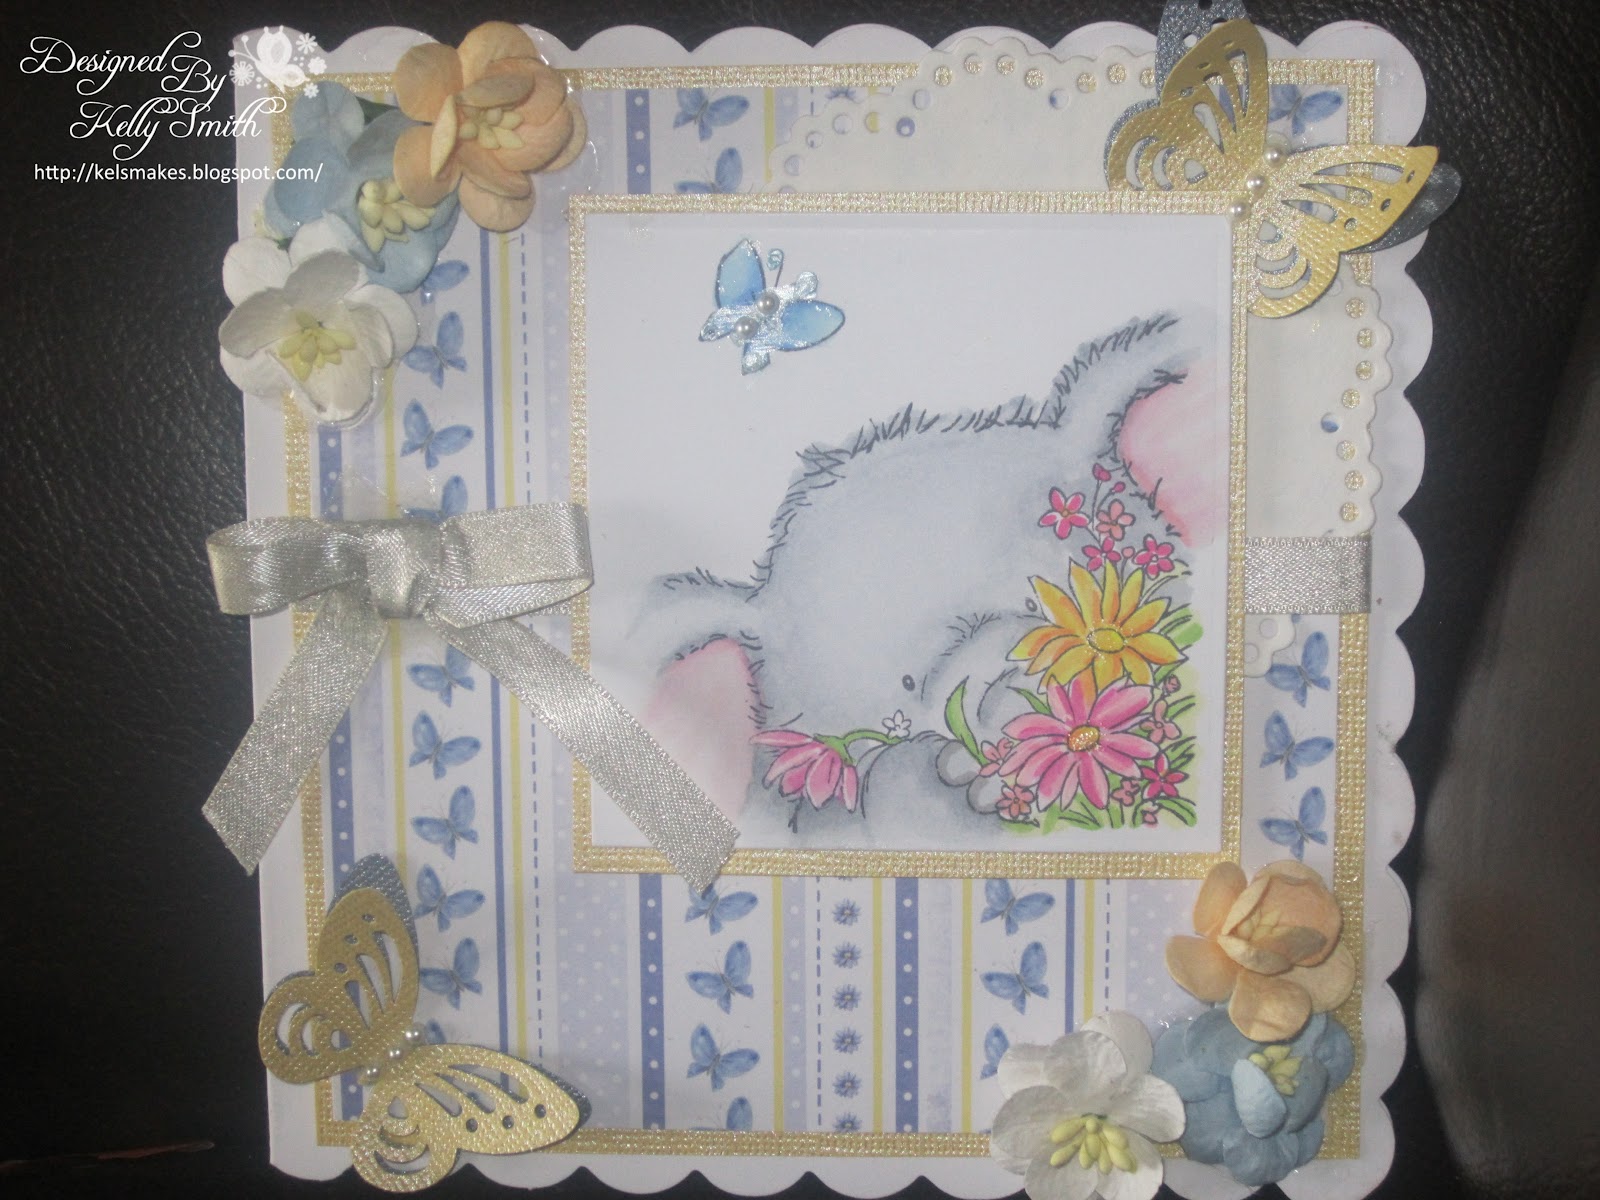
I am going to show you how to make the above card, so you will need:
6" Scalloped Square Card
Wild Rose Studio Bella With Mum Clear Stamp
Wild Rose Studio 6 x 6 Bella Paper Pad
Pale Pink Ribbon
3 Shades of co-ordinating card stock
Paper Flowers
Gems
So here goes:
First stamp out the image and colour with promarkers.
Set aside.
Take a piece of the darkest card stock (i used Cherry) and cut to 13.5 cm (5 1/4") square
Take a piece of balloon paper and cut to 13cm square
Stick the 2 together and then to a 6 x 6" scalloped card blank
Next, take the middle shade of card stock and cut to 8cm x 12cm (3 1/4" x 4 1/2")
Take piece of the plainer paper from the paper pad and cut to 7.5cm x 11.5cm
Mount the 2 together.
Next take a piece of pale pink ribbon and put a strip down the centre and attach at the back
Then stick this to the card, as above.
Next make a bow and attach to the top of the ribbon.
Next, cut the image into a square and mount onto the lightest cardstock
I used an Xcut nesting die here, but cutting with a trimmer or guillotine would work just as well.
Take 3 pale pink paper flowers and place in the bottom left corner, place a gem in the centre of each one
Last step is to add 3 gems to the top right corner.
And here is the finished card! I always try to leave enough room on my cards to add a sentiment and this is usually personalised to the recipient. In this case i would put the sentiment in the bottom right corner.
I hope you have enjoyed my tutorial and maybe got some inspiration from it!
If you would like to try this out for yourself, click on the Happy Hippo button below and it will take you directly to their site and place all the main items that you will need to complete this project in a basket. Of course you can remove or add items as required.
Thank you for looking
.JPG)
 Pin It