Followers

Showing posts with label Tutorial. Show all posts

Wednesday, 30 May 2012

Teddy Bo Colouring Tutorial - UPDATED

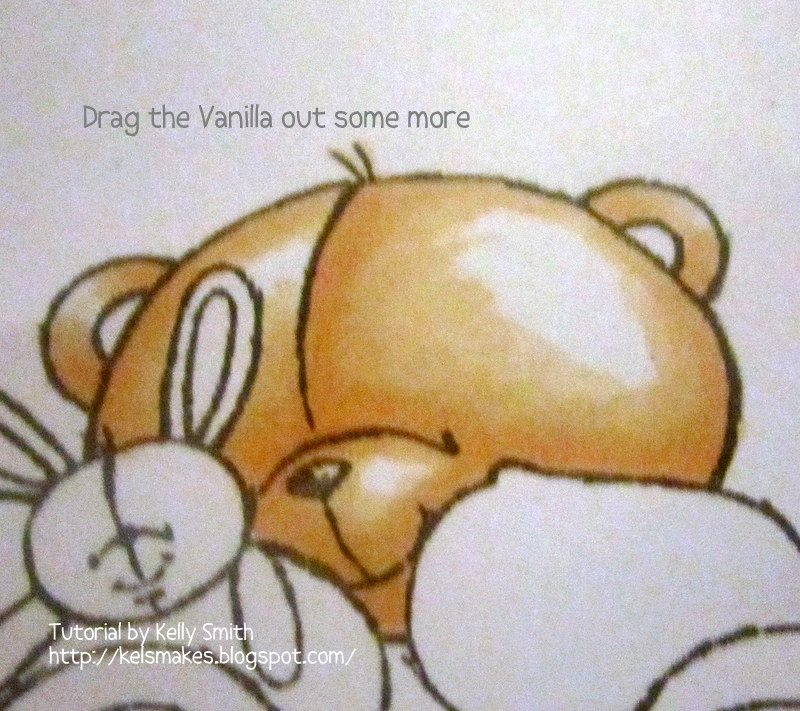
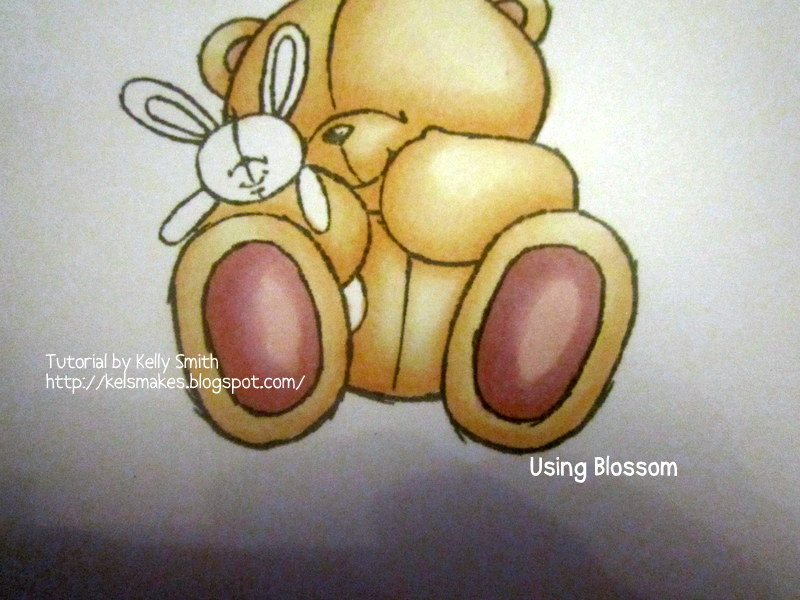
THIS IS A PICTURE HEAVY POST!!
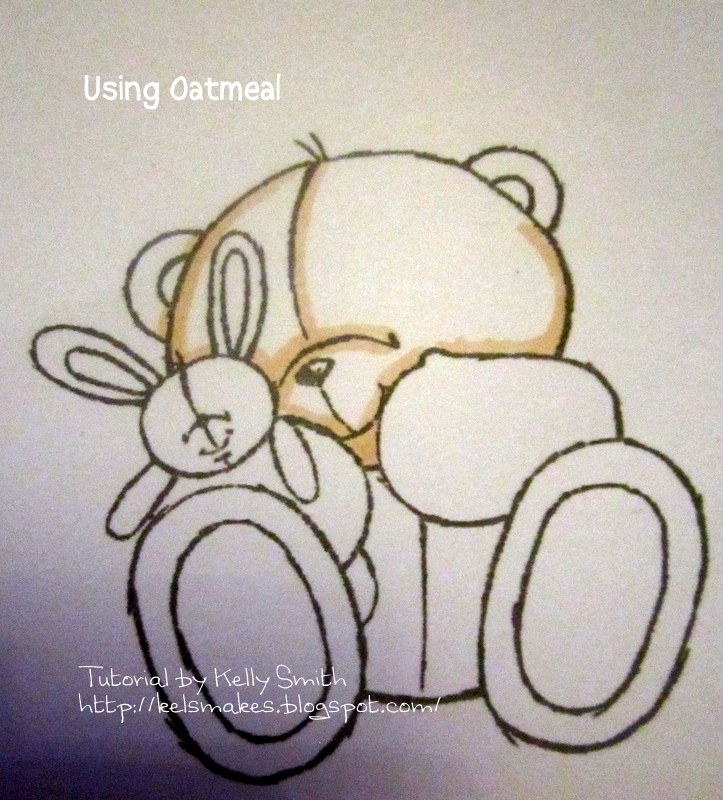
After my colouring tutorial on Forever Friends bear, i was asked how i do my Teddy Bo's So i thought i would show you, although this image doesn't have a lot of fur!!

This graphic was released on Tuesday 29th May.  Copyright remains with Gayle Cook @ www.teddybo.com  

What you will need: 
Teddy Bo image (this is one of the new ones released yesterday)
For the FUR
Cocoa 
Sandstone
Champagne - Flexmarker
Linen - Flexmarker
IF YOU DON'T HAVE FLEXMARKERS I WOULD USE PUTTY (in place of Champagne) and SATIN  (in place of Linen)
 For the CHAIR
Shale
Burgundy
Cardinal Red
Ruby
Lipstick Red
Burnt Sienna
Cocoa
Tan
For the BOOT FUR
Cool Grey 1
For the CROWN and CAPE
Egyptian Blue (True Blue)
Colbalt Blue
Artic Blue
CLOTHES
Gold
Buttercup
BOOTS
Raw Sienna
Nutmeg - Flexmarker (cinnamon)
Light Fawn - Flexmarker (ivory) 

WORDS IN BRACKETS ARE WHAT I WOULD USE IF I DIDN'T HAVE FLEXMARKERS

Sorry this picture is bright


Go round the edge with SANDSTONE
 Now over that with CHAMPAGNE dragging the SANDSTONE out 
 Then go over the SANDSTONE again
 Then again go over with CHAMPAGNE 
 Now go over it all with LINEN
 TWICE
 Then with a fine tip attached go round the edge with COCOA
Then over again with LINEN to blend.  
Do this until you are satisfied with the colour.
With SHALE go in the darkest area. (don't forget the bit in between the crown)

 Then with BURGUNDY go over the SHALE, dragging it out
 Now with CARDINAL RED go over the previous 2 colours
Now with RUBY repeating the same technique as before dragging the other colours out
Go over the whole thing with LIPSTICK RED
 Use the same method and colours for the trim of the chair and the rope around the bottom.
 Now using BURNT SIENNA go around the bottom of the chair
 Go over the BURNT SIENNA with COCOA dragging the previous colour out
Now using TAN colour the whole lot.
Using EGYPTIAN BLUE here
Then COBALT BLUE here dragging the EGYPTIAN BLUE out.
Go over it all with ARTIC BLUE (you may need to blend a couple of times)
For the clothes I used GOLD here
Blend with BUTTERCUP leaving a small white area for the highlights or go over it all with IVORY 

 Onto the boots RAW SIENNA around the edges
Go over the RAW SIENNA with NUTMEG dragging the previous colour out 
Go over the whole boot with LIGHT FAWN
Do the same process again but leave out NUTMEG

For the edges of the crown and the 'studs' of the chair i used gel pens
This graphic was released on Tuesday 29th May.  Copyright remains with Gayle Cook @ www.teddybo.com 
I hope this is of some help!
Pin It

Wednesday, 23 May 2012

Colouring Tutorial

Hi everyone, 

A little while there was a conversation on Facebook about the correct colours for Forever Friends Bears.  As you will know i am more of a Promarker user than Copics, although i do use them occasionally.  So i decided to share how i do my Forever Friend Bears with Promarkers.

THIS IS A PICTURE HEAVY POST, SO YOU MAY WANT TO GRAB A CUP OF TEA!! 

The colours i have used are:
Oatmeal
Vanilla
Ivory
Coral
Sunkissed Pink
Cocktail Pink
Pale Pink
Blossom
Cool Grey 1, 2 and 3
I used Rymans 200gsm Bright White Coated Card
The stamp is from the Forever Friends New Arrivals Set
PLEASE NOTE:  I am not trained in anyway and am completely self taught.  I have followed numerous tutorials myself and just thought i would share how i do things.
So lets get started
 Using Oatmeal go around the edge of the head
 Now go over the Oatmeal with Vanilla, dragging the Oatmeal out
 Go around the edge again with Oatmeal
 Over again vanilla dragging it out more
 Keep repeating 

 More vanilla
 Now add in Ivory.  You need to do this TWICE.  I used the chisel end for quickness
 Now do the arms using the same process as the head


 Now the tummy and Feet

 Now the pads and ears.  Using Coral go around the edge as shown
 Then Sunkissed pink over the top of the Coral
 Now with Pale Pink, go over the whole lot.
 I wanted a pinker effect so i went over it again with Sunkissed Pink
 The Blossom 
 Still not what i wanted so i went round the edge with Cocktail pink and coloured the whole thing with Blossom
 Now for the bunny,  I did this grey this time but i would probably do it pink, lemon or blue depending on the recipient of the card.
 Using Cool Grey 3 (above) go around the edge the go over it dragging it out slightly with Cool Grey 2
 Go over it all with Cool Grey 1
 Then repeat the process leaving Cool Grey 2 out.
 Using Cocktail Pink, give the bunny some rosey cheeks ( i noticed i missed this out on the bear, but i would do the same process as with the bunny) and just inside the ears

Then blend in with Pale Pink
And here is the finished bear the morning after, when it is completely dry.  If you feel it hasn't blended enough go over the whole bear with Ivory.

I hope this has been useful for you.  If there is something in particular you would like to see coloured please leave a comment and i will do my best to help!

Thank you for looking x

Pin It